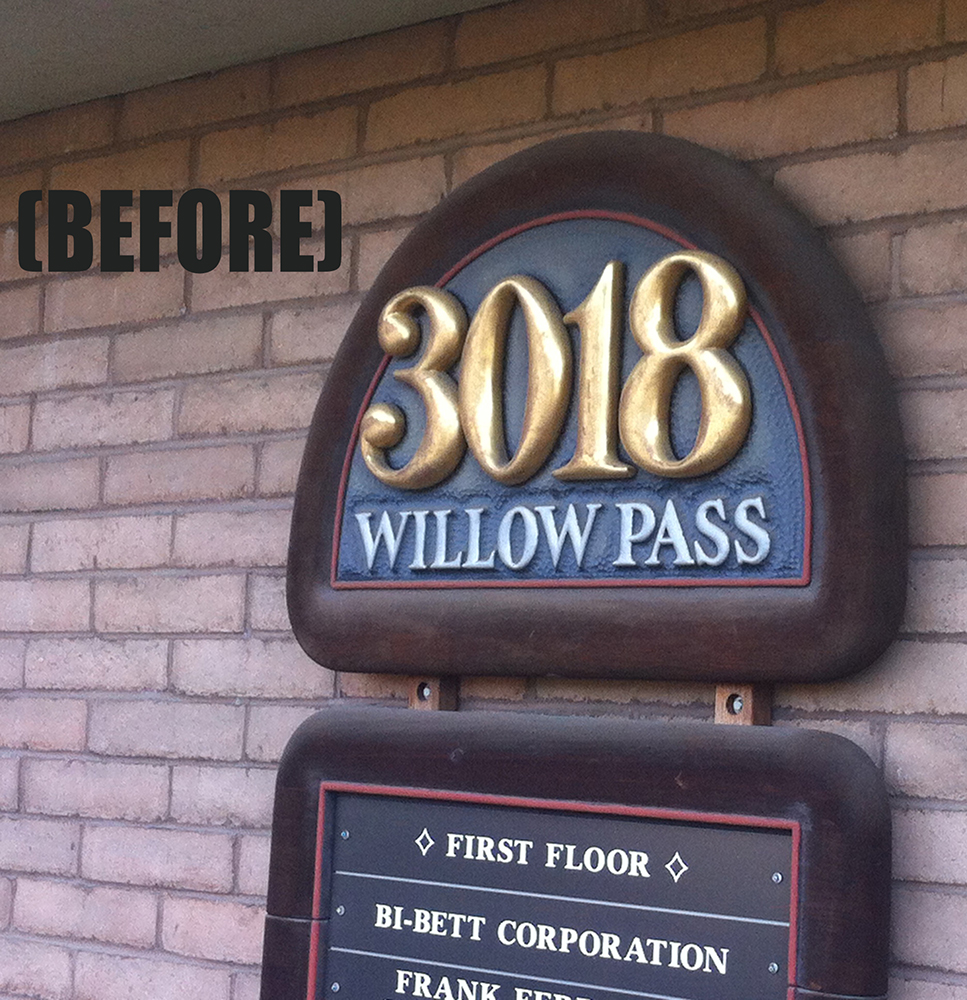
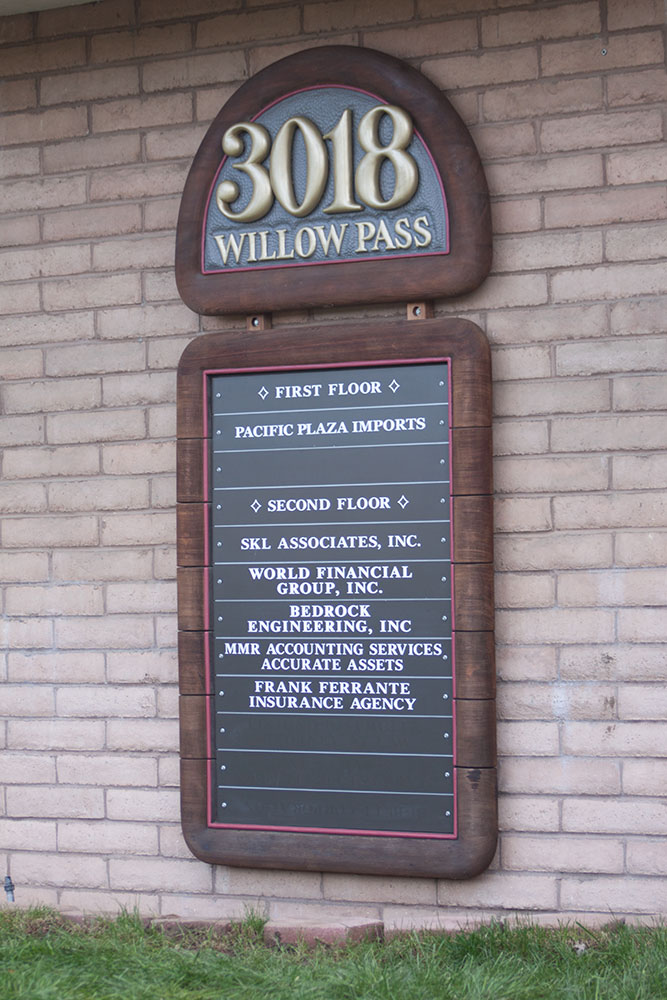
 Our latest project was that of replacing, restoring and adding indoor and outdoor signs to a building that was recently purchased by Plaza Imports on Willow Pass Road in Concord, CA. It will eventually include signs throughout the inside by office doors, and ADA signs throughout the building. For now, door signs on the main floor and a large print & cut logo sign on the front window entry, and the cleaning and restoration of a directory sign on the front of the building.
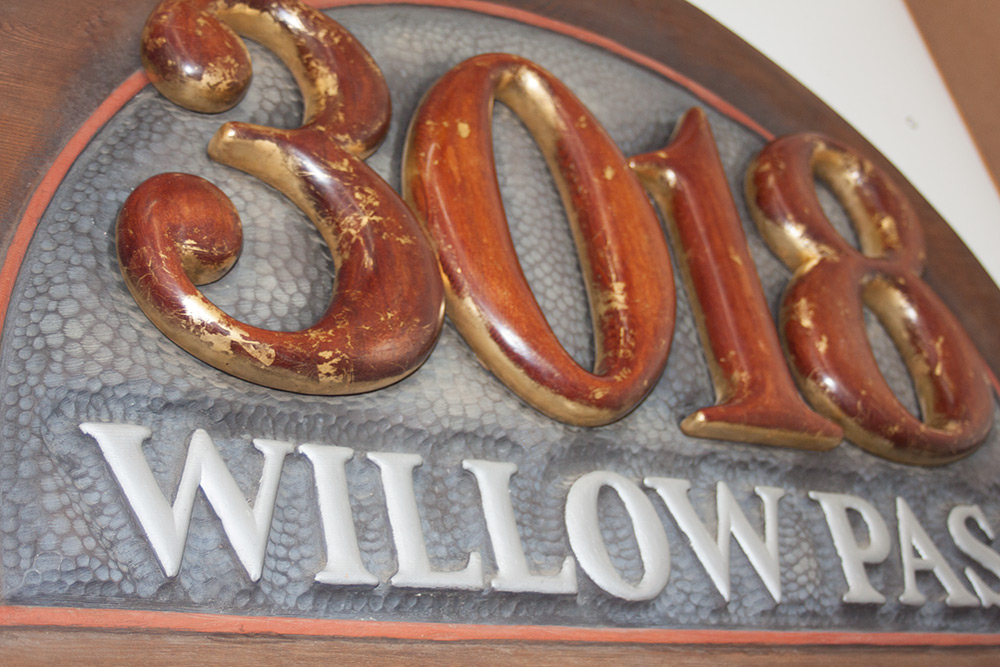
Lee and Vic went out to the sign, armed with cleaners, rags and brushes. Much to their surprise, the gold on the large 3 dimensional letters rubbed right off! They went a little deeper and found that the sign is solid hard wood with a thick, clear varnish type of coating, much like you would find on a highly finished church pew, or a durable, high quality board of director’s table. The question at hand is, “is it Varathane or oil base, and what was the gold?”.
 Once we knew “we were in the boat, the only thing to do was row”. . . so, in the next few days, Lee and I did a lot of shopping and paint research. The gold may have actually been gold leaf, because it came off so easily. My first idea was to buy gold paint and carefully coat the letters. As it turns out, the only gold brush on paint I could find is made by Rustoleum, and is for indoor use. That wouldn’t hold up well on a sign that faces a busy street. I thought about covering the indoor paint with outdoor Varathane, however, we had no way of knowing if the paint underneath (gold) would crack, fade, or ?
This left me with two choices, spray paint, or gold leaf. Gold leaf would be very expensive, and, once again, may not stand up to the weather. I haven’t had experience with gold leaf, so was not anxious to try it on this project. The spray paint held a challenge too – since the sign is similar to a 3 dimensional sculpture, the masking project would be a huge challenge.
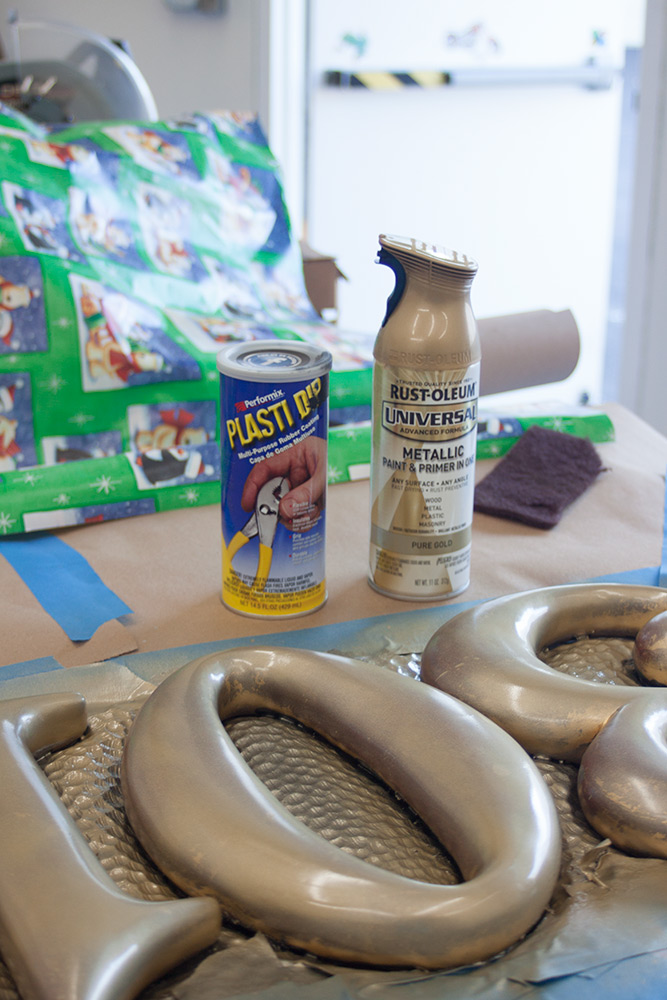
Then I had another idea. I was remembering the days when I would sit in art class and play with rubber cement. “Hmm. . . There is a project like that at the hardware store . . . “ I went to Home Depot and asked them about a product they had sold that was an alternate to latex gloves. You either painted it on your hands before opening your can of paint, or you simply dipped your hands, I can’t remember. Well, it didn’t matter, since they don’t sell it anymore. The paint person did lead me to what he thought I was looking for – it is a product similar to a rubber cement, but you dip the handles of your tools in it. This way, they are easy to grip and electrical current does not pass through it. . . In the long run, I realized that I should have checked at Aaron Bros for a quart of rubber cement.
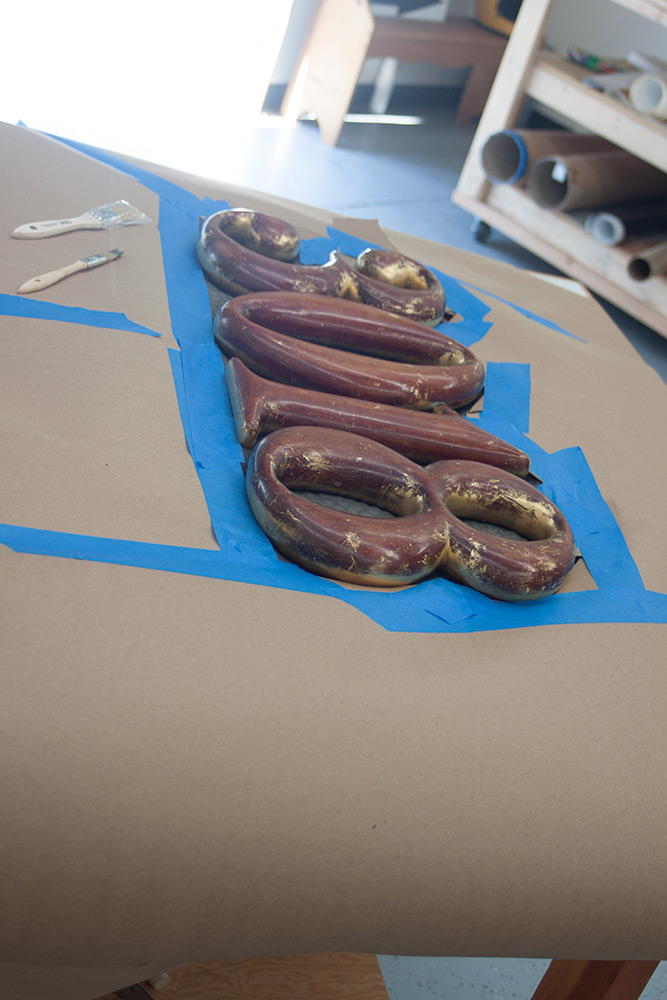
Friday – I decided to try the PlastiDip. I came back to the office and masked the letters as well as I could with paper and blue tape. (Side note: This reminded me of what the doctor did when I had mohs surgery a year or so ago.) I left the area in question open much as the doctor had, and then I filled in the other areas with the PlastiDip (he didn’t do that part). I added a little more where it seemed thin, and, once it was dry, I started to spray three different layers of outdoor Rustoleum “Real Gold”.
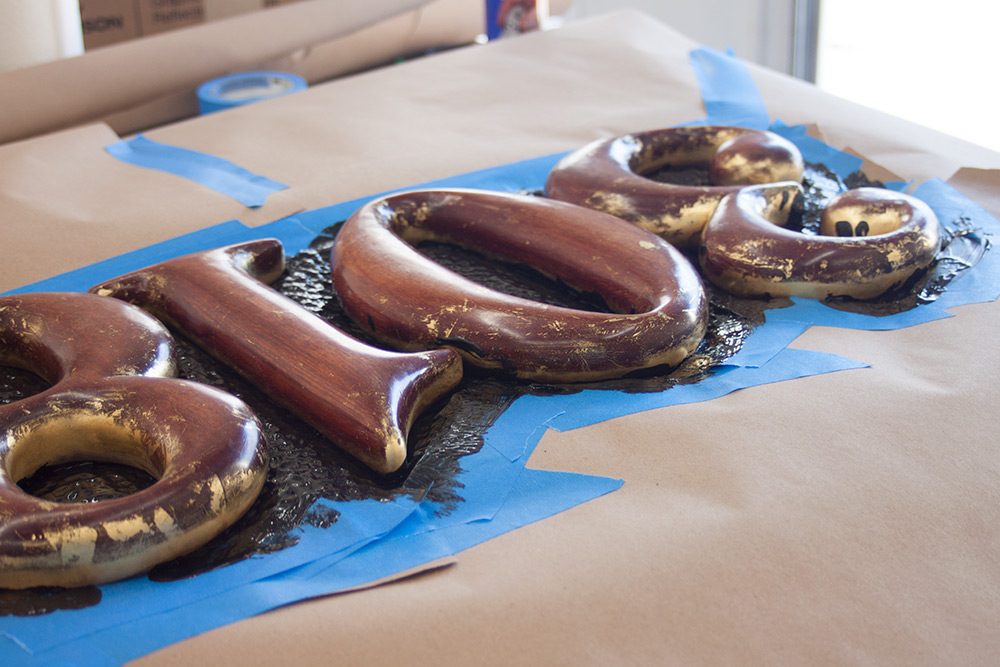
Lee decided to stop at the office after church on Sunday morning, and do a few things, so I came along and checked my project. The paint was looking good, so I started to peel the rubber off of the sign, only to find that the layers weren’t thick enough. I felt like a dentist trying to scrape the plaque off of a monster’s teeth. Adding more PlastiDip didn’t really help either, since I was creating layers with gold paint in-between. The other parts of the sign got a much thicker coating.
Spraying was the easy part, and the client decided he would like to have the flatter, second row of text painted with gold also, so I was able to do it and let it dry until Monday. We took the sign home with us and I worked on it the rest of the day with an Xacto knife and a tweezers. The next morning, we took it back to the office, and Lee and Vic got to have a chance to remove some of the PlastiDip while I went to find a brush-worthy outdoor paint with a color for the trim. We also used a charcoal colored background paint after removing all possible masking material. I’m grateful for Home Depot and their little sample paints! Vic cleaned the outside rolled wood with a steel brush before we could add the background and the trim. It looked so different that he had to do the same to the lower part of the sign that remained mounted to the outside wall, so that it would match. I had no feeling in my fingertips by the time we were finished, but were very happy with the results. We just need to learn to either charge more for this kind of job, or rebuild the sign next time . . .
Lynn Koellermeier
Design & Business Development
Signature d’Sign, Inc
Concord, CA 94520
www.signaturedsign.com
925-446-6477