Get Started With Glazing by Sweet Tarnation
 Starting to make your own pottery is a very exciting prospect! All of the steps that go into creating ceramics can be daunting and I, for one, love finding information about each step from experienced artists to help me discover what will work best for me and my work. Glazing has almost infinite variables and opportunities to make your work your own. I’m going to tell you about my own glazing journey so you can decide where yours is headed. This is also a really great guide to what’s involved so ceramic-lovers and pottery-files can understand what goes into their favorite vessels.
Ceramics and making shapes from clay is largely based on chemistry. How it comes out of the kiln is dependent on how each element reacts in an extremely hot environment that reduces each material to its basic building blocks, changing the materials in a fundamental way to turn it into glass, or vitrify. This is why ceramics can be very durable, but it also means you need to know your materials very well to get consistent results. Even when we think we have a method down, some slight variable can come into play (such as where exactly a certain piece is in a specific kiln during a specific firing) and give us something unexpected. This can lead to amazing serendipitous moments and it can also lead to unwanted colors or cracking, making a piece unsellable. Praying to the kiln goddess is not uncommon.
All of my pieces are glazed by hand and I have tried many combinations. Some have been very successful and I have filed those away as “must do again” while others have been less-than-stellar and are now in the “never again” pile. To keep things simple for myself I have mostly used Mayco Stroke-n-Coat glazes which are created for a very wide range of temperatures (Cone 06 through Cone 10). This makes them extremely versatile and ideal for beginners who don’t quite know what they want to do for large-scale production, if that’s your goal.
Originally I began making clay vessels using clays from the wonderful resource that is The Potter’s Studio in Berkeley, California. They offer Cone 10 clays and glazes as well as classes and facilities to make your pieces, such as tables for hand-building and wheels for throwing. I am a contract firer which means I bring my pieces in for each firing, pay the contract firing rate, and leave my pieces in their care, picking them up when they’re ready. The staff is extremely experienced and skilled. I wouldn’t have been able to get this far in my journey without their knowledge and kindness. I shaped my vessels at home and glazed them in their studio using their dip glazes. It was a wonderful experience and I’ll likely do it again at some point, but I did find that high-fire cone 10 materials weren’t giving me the bright colors I was hoping for.
This is when I moved to cone 6 clays and glazes as lower-temperature firing generally allows for brighter colors. I started with The Ceramic Shop’s Fine Spec Favorite WC-606 clay (theceramicshop.com) which has some grog (crushed bits of fired clay that are added into fresh clay to help with even drying) and a lovely buff color with dark flecks when fired. I had aspirations for working with porcelain and this clay is a good stepping stone towards a grog-less material like porcelain. I was able to cut my skills on this less fussy clay before moving on to the more challenging porcelain. I use this clay to this day because I love the look and how it interacts with some of the Mayco Stroke & Coat glazes.
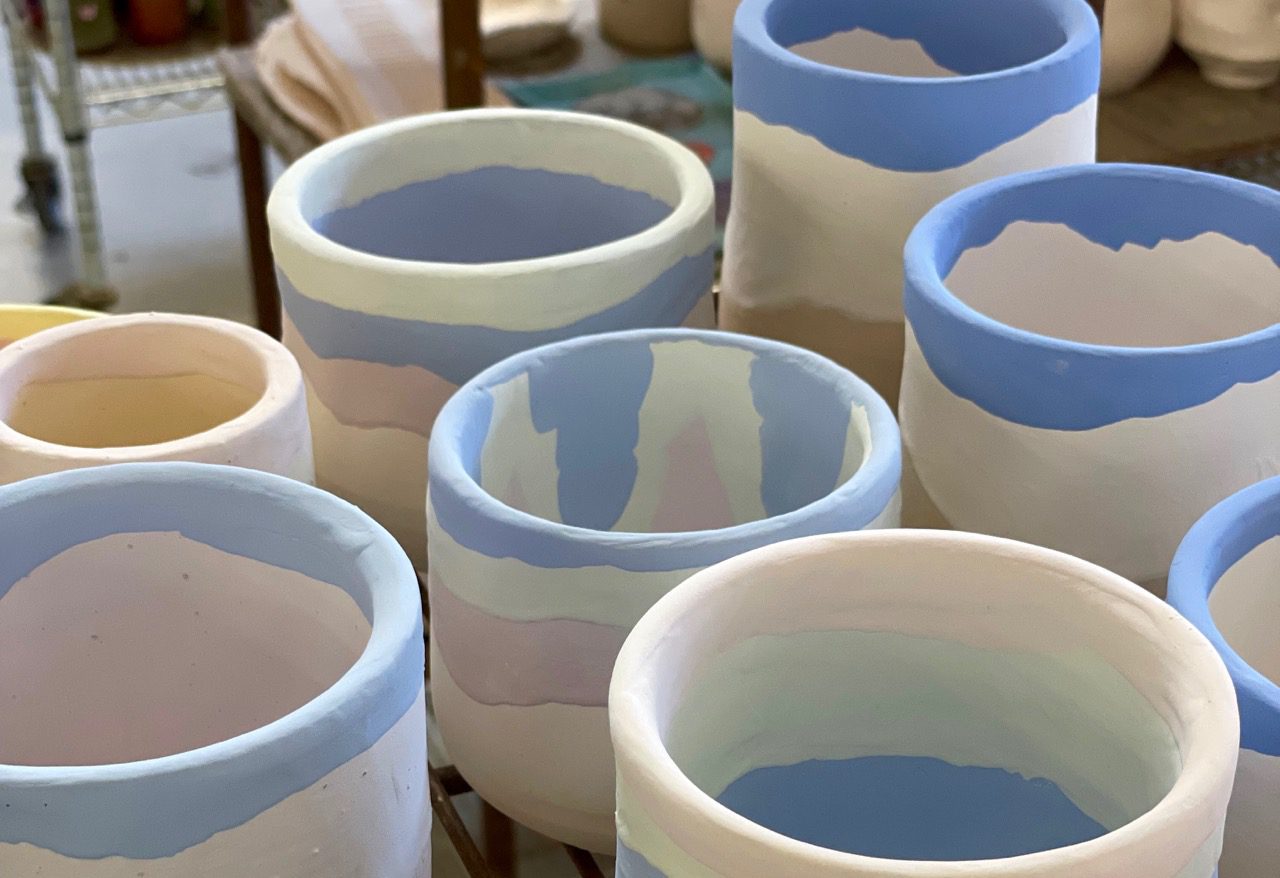
Once I had my clay body figured out, I started testing glazes. I tried single colors first to get a feel for how they behaved on the clay and moved to layering the colors for different effects. Here’s what I discovered:
- Do not forget to sponge your pieces down and let them dry before glazing. This removes any dust and will help glaze adhere better.
- The typical rule is three layers of glaze per color if you’re brushing it on as I do. This will give you an opaque finish. Fewer coats make it more translucent.
- Mixing the colors with white (Mayco Stroke & Coat Cottontail) will give you pastels, but go lighter than you think you need to. When the glazes are un-fired they are much lighter than after firing.
- The Spec Favorite clay body makes glazes run more than porcelain does and I can’t put more than 7 layers of glaze without the danger of it running onto the kiln shelves. This was a tough lesson to learn! Almost an entire batch of pots ran and I was out a chunk of change to replace the kiln shelves. I also ruined other people’s work, which is a terrible, terrible feeling. Do tests, use cookies (unglazed slabs or disks of clay to catch any drips).
- Different combinations of colors react differently! Also be careful when layering more than a couple of colors. Again, testing will help you determine the lethal combinations.
- Imperfections in the glaze will show up on your final piece. If it’s not smooth or you accidentally nick the glaze, it will likely be there after firing. You can use your fingers to rub any spots once the glaze is fully dry and they should smooth out . You will need to add more glaze if you nick it.
- I’ve found light colors over darker colors will melt together better. Darker colors tend to be more stable and won’t intermingle as much. This could be due to how much white is in the color.
- The Stroke & Coat Tuxedo (black) is very strong. If I’m layering a lighter color on top I’ll do 2 coats of black and 4 coats of the lighter color. Otherwise the black overpowers the lighter color and I don’t get the contrast I’m going for.
- I can be more liberal with my color layering inside my vessels because there’s no danger of them running onto the shelves, it will just pool inside.
- Speckle glazes don’t work super well on speckle clay. The specs in the clay come through the glaze and it can get visually muddy very quickly.
I‘m sure there are other tips out there, this is just what I’ve discovered so far! There is a lot more to find and I intend to explore these materials until I get the exact effects I want. Don’t be afraid to try combinations you wouldn’t think would go well together, I’ve been surprised enough times to know that much. And have fun! This experimental stage of creation is a huge well of joy, so draw from it with wonder and curiosity.