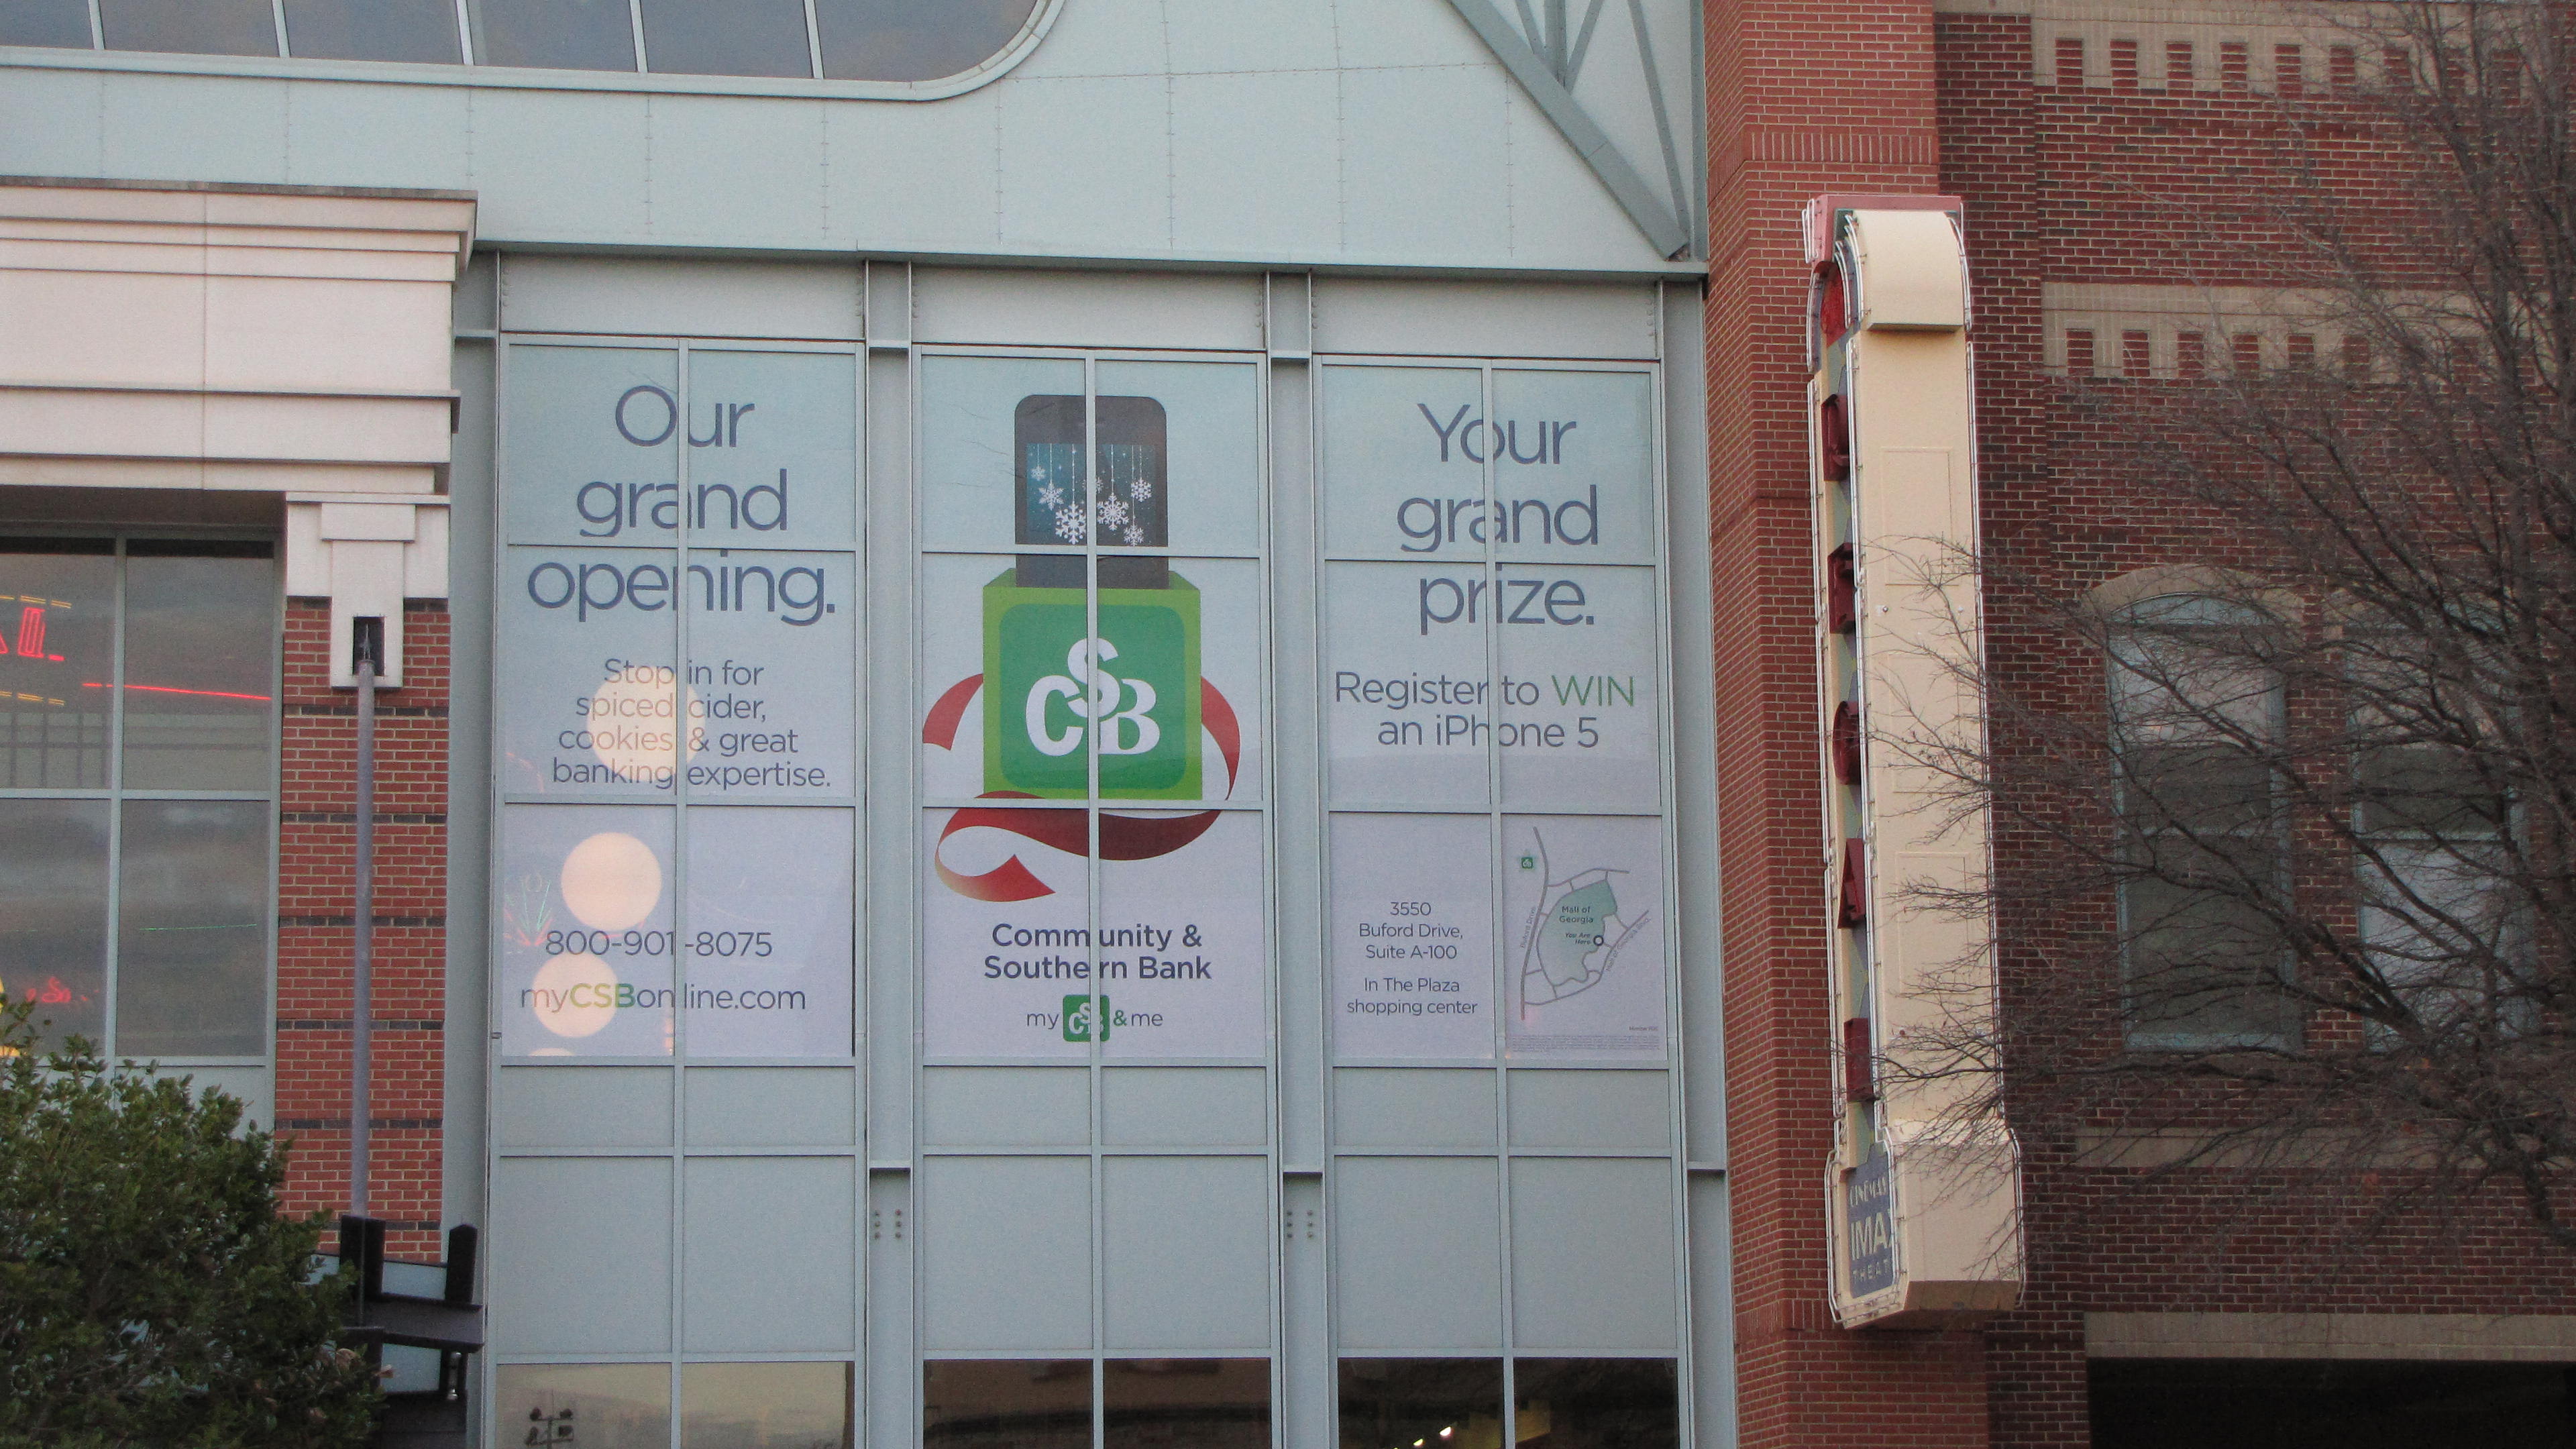
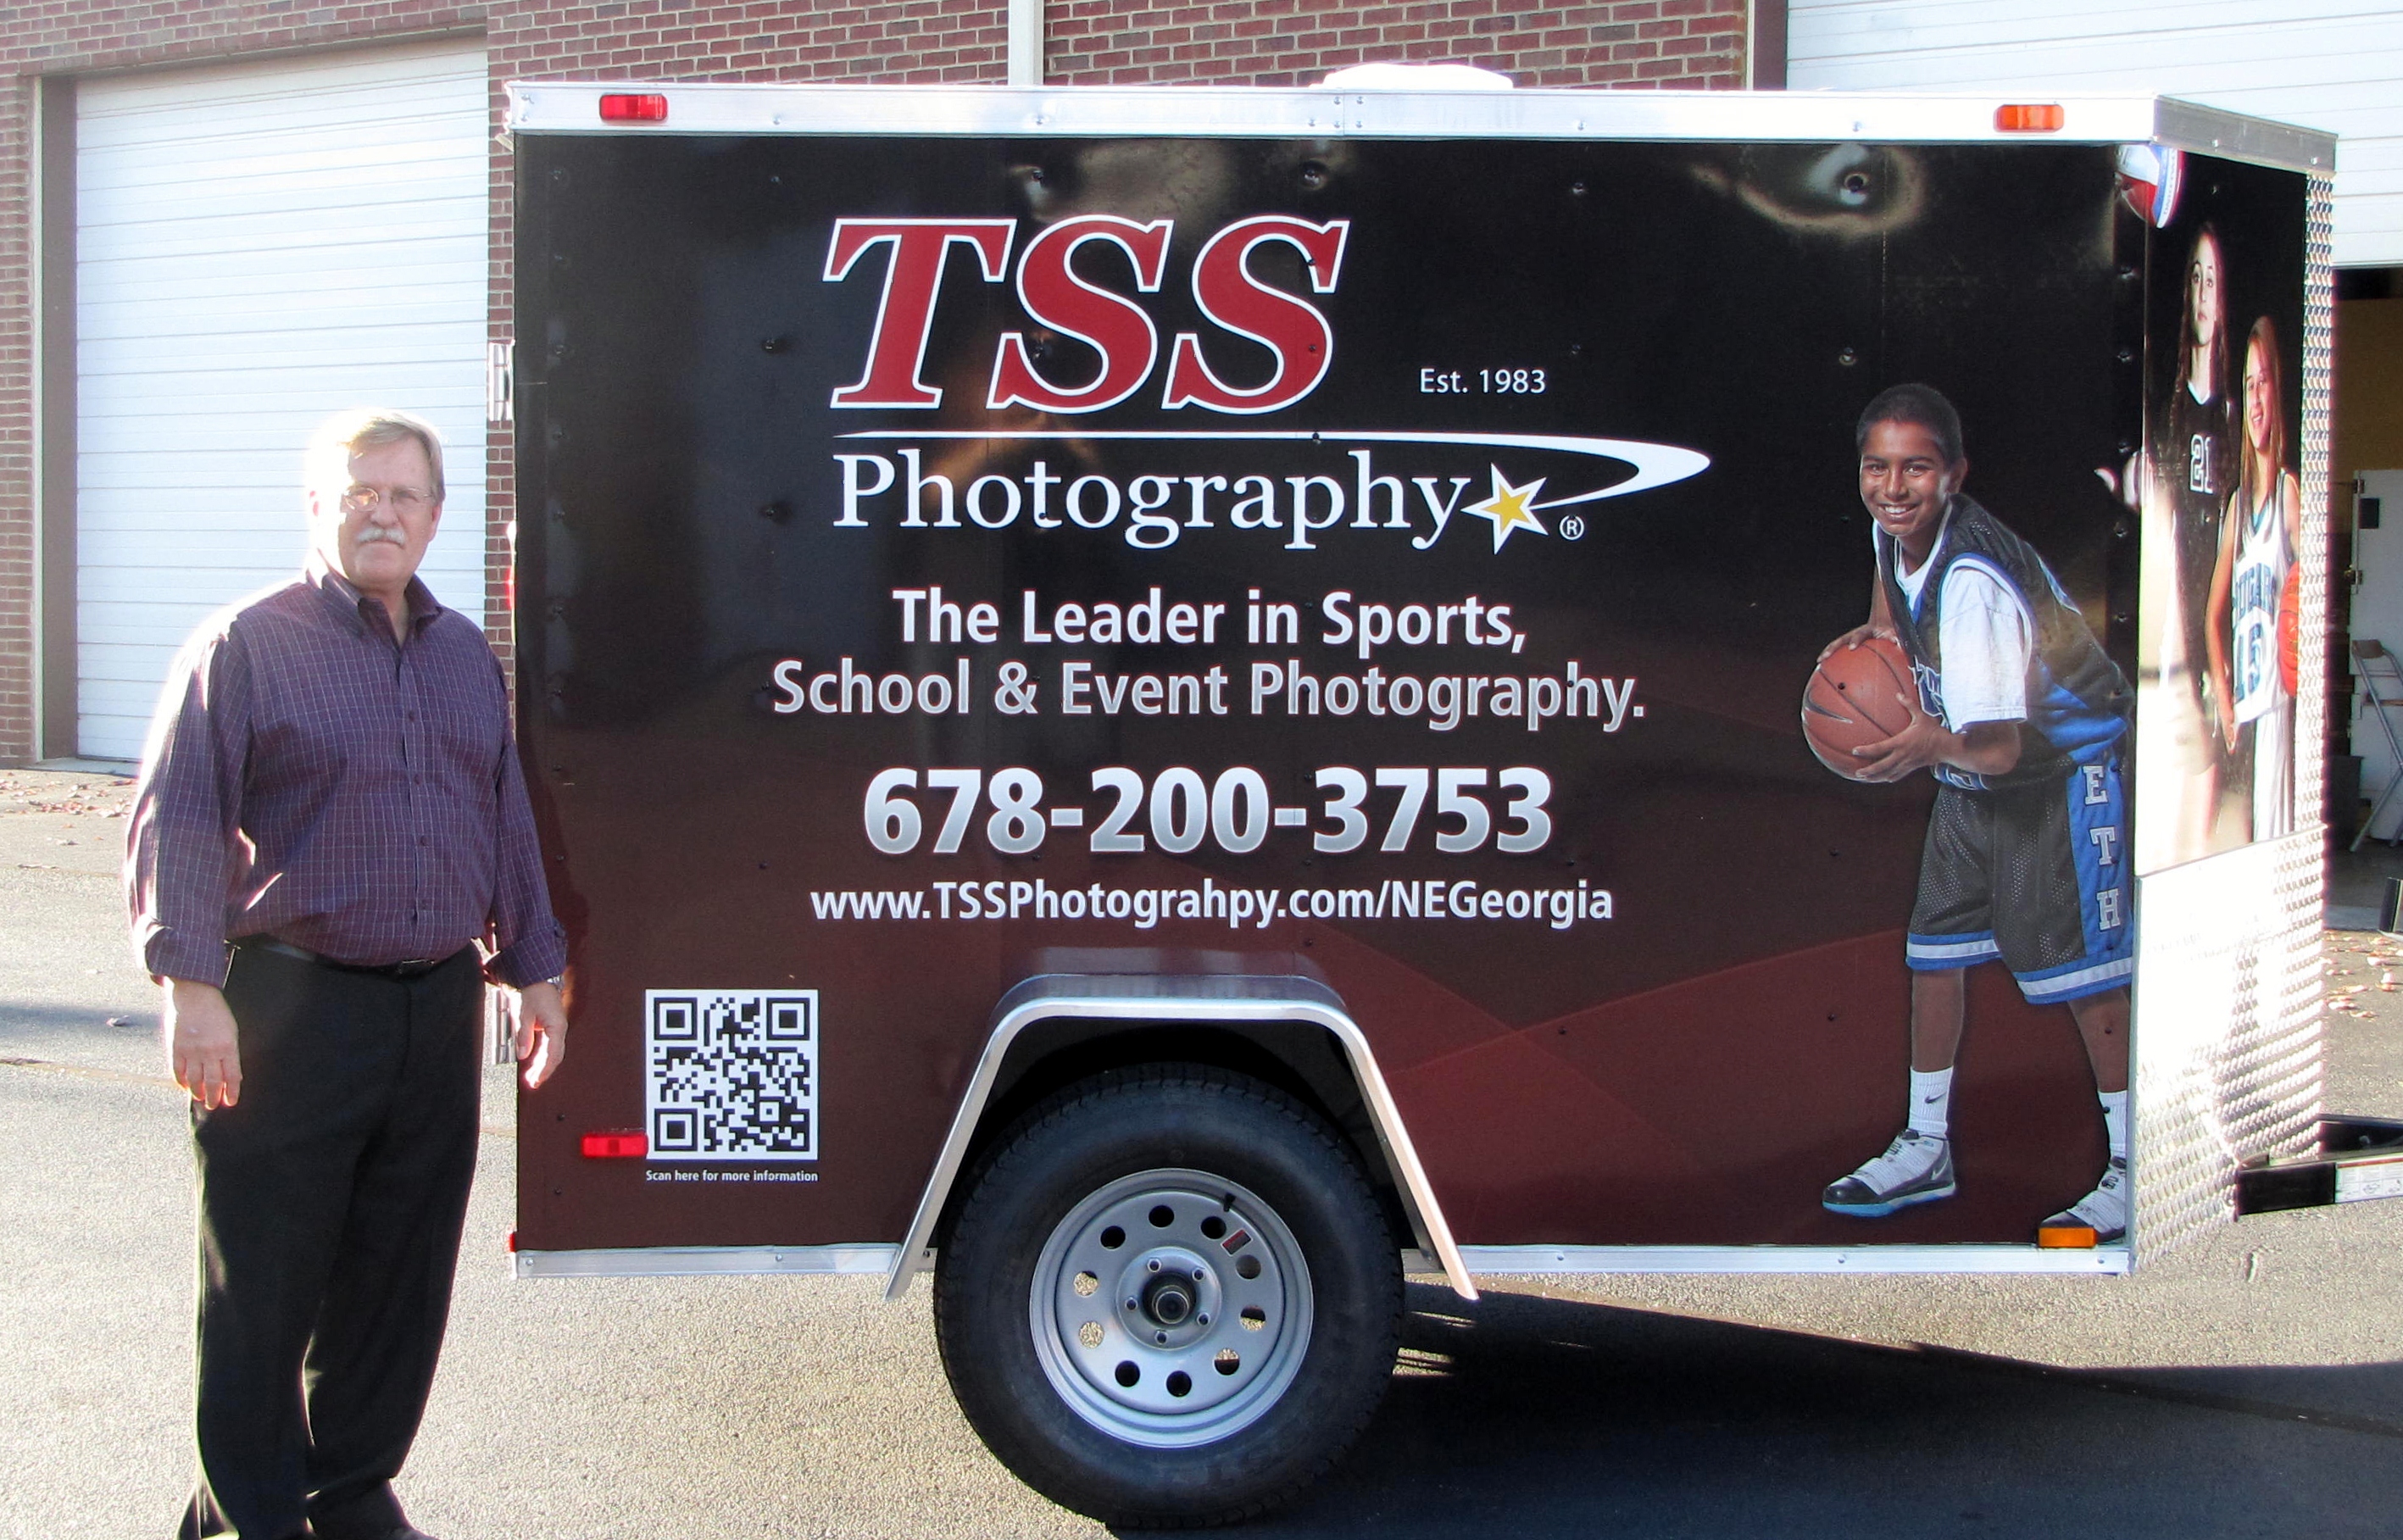
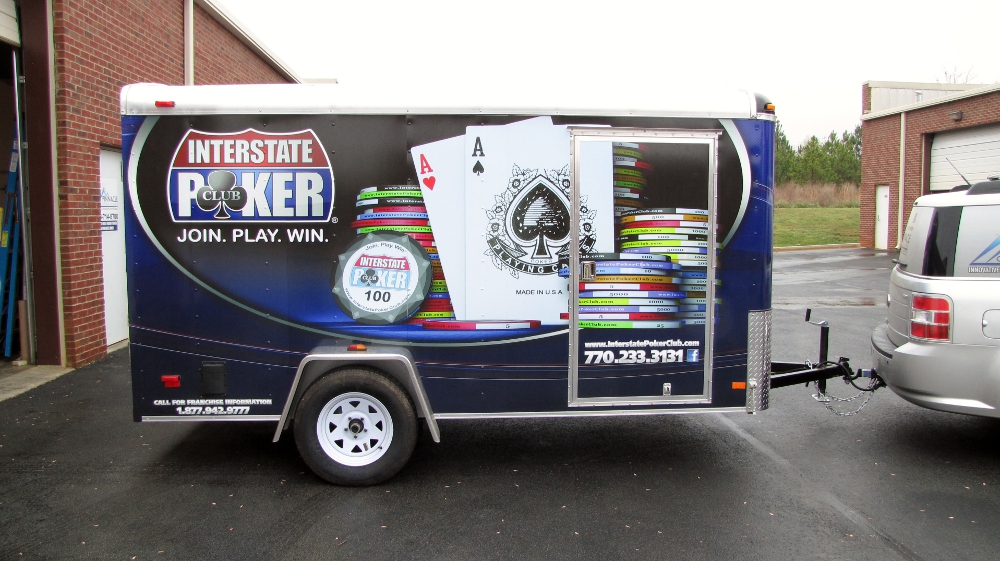
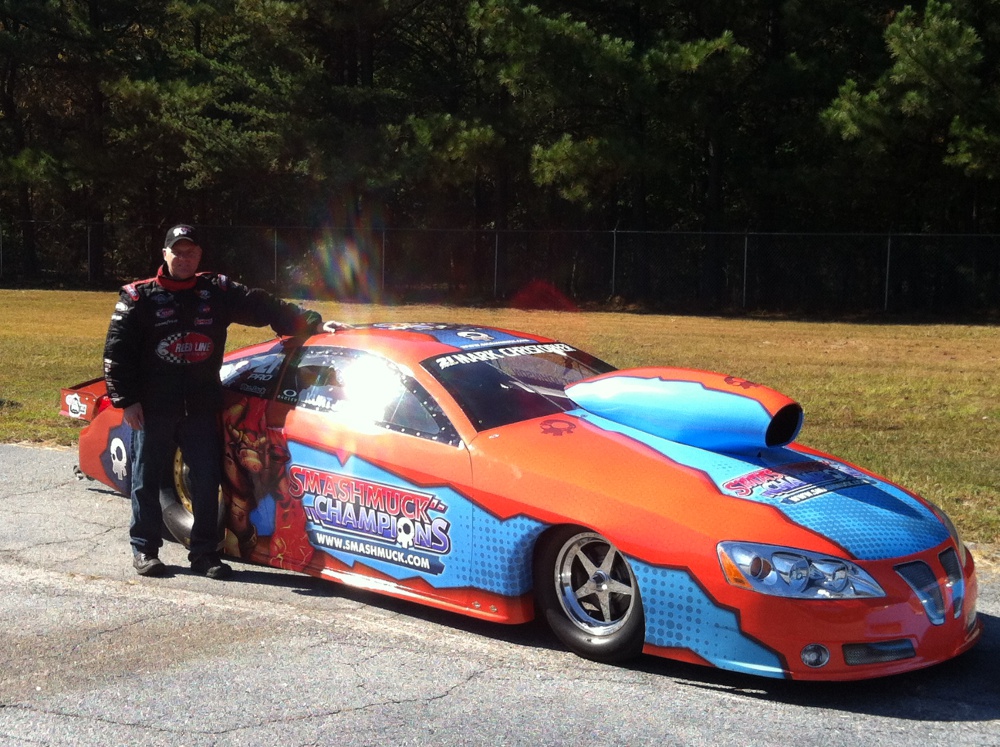
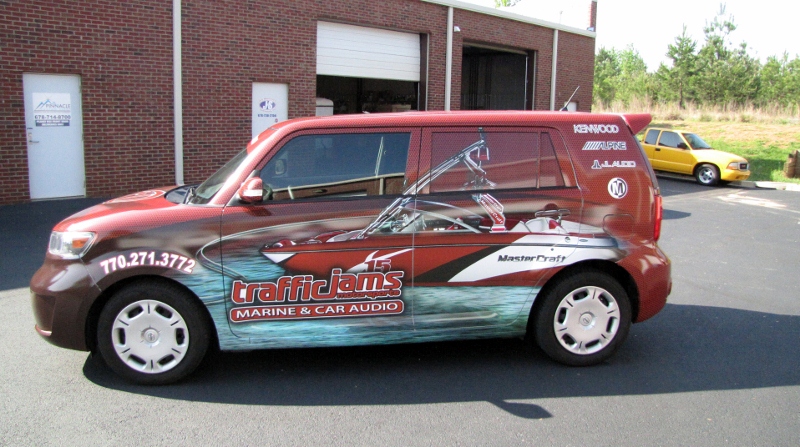
 Design: Make sure the design is eye-catching, but , more importantly, make sure it is also designed for a vehicle. In our first few attempts, we took two-dimensional designs and tried to apply it to a car or van. In doing this, we found that the designs would bend around the corners and the design elements did not land where they were supposed to on a vehicle. We now recommend to all of our customers that we do the design work for their project, since we have an excellent designer who knows how to take into account the subtleties of designing for a vehicle. Some of our most current work shows how much better the end product turns out.
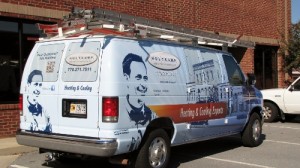 Material: Use the right material for the job. And, if you are not sure, always use a material that is one grade higher. On our first couple of wraps, we used a product that was supposed to work well on cargo vehicles. Since we were wrapping service vans, so we figured it would be okay, but quickly found that it wasn’t. Mid-way through the project, which included wrapping six vehicles in a fleet of vehicles for a local company, we upgraded to the 3M product IJ180, and haven’t looked back since. Unfortunately, we learned an expensive lesson in that we had to re-wrap the first two vehicles we did at our cost. We now use the 3M product exclusively for all our wrap jobs, knowing the quality of the product’s performance.
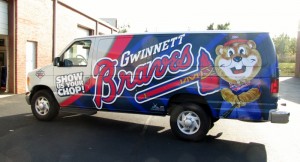
Installation: Always have a certified expert installer do the job. Although they may cost more, in the end, there is a reason they are certified. We have found an expert installer that does all of our work now and we consider part of our team. He helps with some elements that turn out a better product for all. We will not attempt to do a wrap on our own now, due to the expertise we have found.
It has been a very rewarding and exciting time learning the processes and making things happen. Some of the lessons have been costly, but in the end we believe these lessons will make us known in our area for doing great work on vehicles.